Installing a forend grip with an integral bipod doesn’t require an advanced degree in physics, but there are good reasons to offer in-store installation. It’s fast, easy, effortless and effectively communicates a willingness to deliver the kind of customer service not available down the street in that big-box store — where the only specialty is loss-leader sales.
Communicating competency and knowledge is always a solid public-relations move, but there’s another return on this minimum investment. During those few minutes it takes to mount the new unit, you get a chance to handle the firearm, suggest upgrades the owner may not have considered and inspect for worn or tired components that may soon need replacing. Those opportunities don’t exist if the forend grip simply leaves the store in its box. Admittedly, many owners won’t take advantage of the offer, but consider the volume of new shooters not yet as familiar with the procedure’s simplicity.
Safety is first and foremost. Drop the magazine, clear the chamber and make the gun safe. Double check before proceeding.
Engage the customer in conversation during the process, while maintaining focus on the procedure. Hopefully they’re wandering around the store, but if they’re not — and the customer seems relatively new to the sport — it’s a good chance to reinforce the procedure, even mention the use of chamber flags at competitions, industry events or at your establishment. Think rapport instead of sales pitch. Parents, or owners with a significant other not just yet familiar with a gun’s operation, will note the wisdom and perhaps even ask where such devices are in the store.
Rail space tends to get over-occupied in videogame fashion. That makes the odds good you’ll need to temporarily remove or relocate lights, lasers or kitchen sinks before you can begin mounting the new unit. This is the ideal time to survey their condition and function. You might also ask if they’re comfortable with those long reaches to tailcap switches and suggest a pressure pad in the future. Rail covers will also need to be removed.
Remove and carefully place the gear on a mat to protect them from marring as you complete the installation. Some of the simplest procedures we take for granted speak loudest. Protection of their gear, even the items too cheesy for your store to carry, communicate genuine care and professionalism.
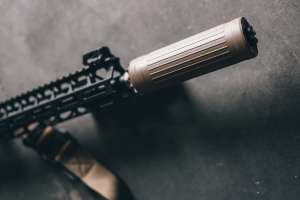
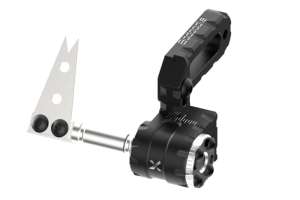
Determine the ideal location for the grip/bipod, usually as far forward as possible to maximize stability during the bipod’s use. Arm length and primary use of the firearm vary, so enlist input from the customer.
Thoroughly scrub the rails and their sides at that location. Use a cotton-tipped swab to get into those tight spots and don’t hide the cleaning solutions and protectant employed. Veteran gun owners know and understand the process well, but products change and those for sale in your store that improve, ease or speed the process are always of interest.
There can be polymer that has migrated inside the surface of the unit where it grips the rails. Inspect and clean as needed. Leaving foreign material anywhere on contact surfaces will only worm loose with use. If there are sizeable burrs in there, take another grip from your stock to mount — yet another reminder to the customer that having you do it is better than driving back to return the unit or risking the defect by mail order.
Subliminal messages are finally over, and it’s time to mount the unit. Follow the manufacturer’s instructions closely and recommendations can include a drop of thread-locking compound — avoid solutions that are “permanent” or anything that requires heat to loosen. Be sure to apply forward pressure on the grip during the tightening process because recoil will be moving the rifle back and you want complete engagement on the forward end of the new unit’s lug.
Tighten fully to specifications and check for stability. Ensure the bipod deploys correctly and clean.
Recheck the gun is safe and ask the owner to see if the grip works for them, keeping it pointed in a safe direction. Every inch the bipod moves back has the potential of compromising stability, although some shooters want the ability to “swing” from target to target quickly.
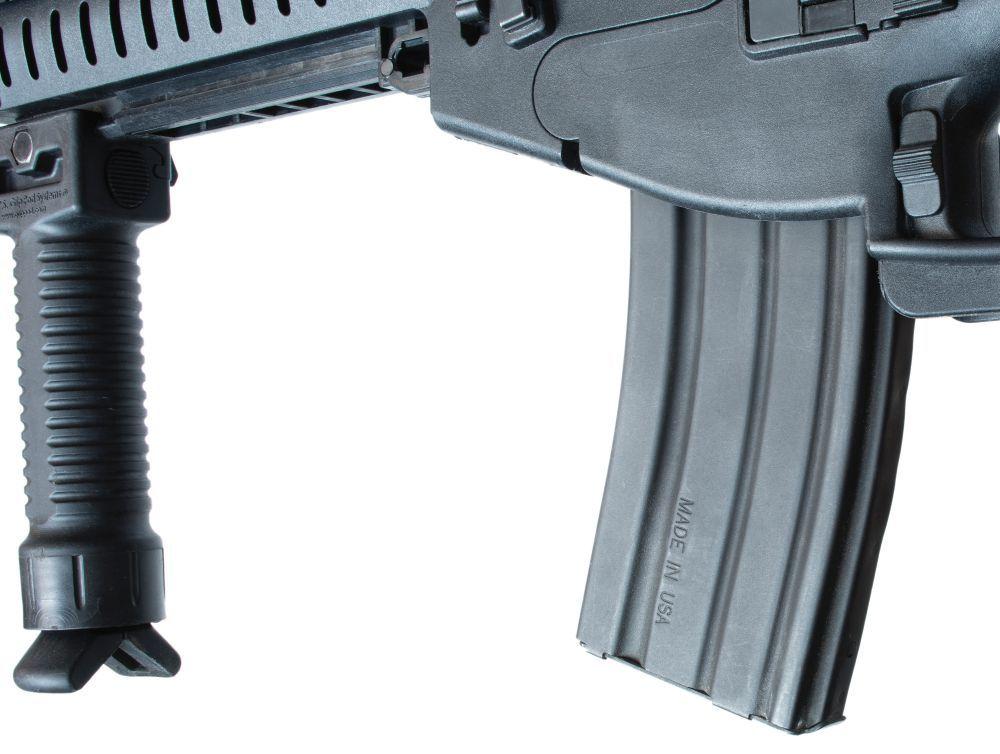
There’s a chance that with the grip/bipod mounted a 30-round magazine will make things cumbersome when shooting off the bench. Avoid complaints by bringing it up before ever starting this procedure and offer shorter 20-, 10- or 5-round versions as a possible solution. They may already have sandbags that will remedy the situation, too.
And finally, pack up that convenient tool kit you keep under the counter for just such easy installs. They may not buy one of those range-bag-friendly and utilitarian solutions right away, but they’ll certainly remember it the next time something on their gun, or a friend’s, wiggles loose at the firing line.