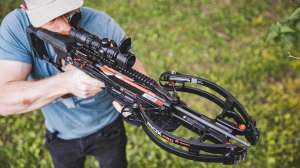
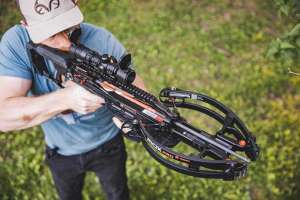
In bowhunting, confidence is everything. If you can’t aim precisely, then you simply won’t hit what you’re aiming at, certainly not with any degree of consistency. This is why maintaining control while you’re on target is super important.
Yet a lot of archers struggle with aiming control. Most of this stems from lousy shooting mechanics and/or extreme shot anxiety, otherwise known as fear of missing, buck fever, or target panic. To overcome these ailments, archers must retrain themselves to shoot properly, by approaching the shot systematically while placing an inordinate amount of focus on aiming.
During the aiming process, the arrow’s release should take the archer by surprise — usually by a process of relaxing and pulling through the shot. This is done after months of slow, methodical shooting using solid technique, which, eventually, conditions your mind to shoot the right way.
At the middle of this “restructuring the shot” is the release aid. Most archers find bad habits so deeply ingrained that using their old index-finger release aid, despite good instruction, is not enough to achieve a different outcome. No matter how hard they try, lousy accuracy and punched shots continue to prevail.
For this reason, switching to a different style release aid is often the only way to achieve success. I will say this, there is truly no one-size-fits-all release aid for every archer, which can make this a complicated endeavor. However, here are some basic principles to help speed up the learning curve, so you can assist customers confidently and get them the release they need to help transform their shooting.
Curing Mild Punching
Trigger punching is the telltale sign that archers are suffering from shooting control. Sometimes this trigger punching is mild and other times it’s extreme. For mild cases, using a better-quality release can sometimes be a simple fix.
By “better quality” I mean one with a crisp, creep-free trigger. I would say 75 percent or more of today’s index-finger releases produce some degree of trigger play — a nagging mental distraction that disrupts proper aiming and shooting control.
The best way to examine the quality of a release’s trigger is to shoot it with your eyes closed. This is accomplished by placing a target butt at chest-high level, while you draw, anchor and then close your eyes while activating the release. Shoot one arrow at a time, pull, then shoot again, completing 10 to 12 shots per session. As you do this, you’ll quickly detect trigger slop or movement prior to the shot, if any exists. I have evaluated dozens of index-finger releases over the past few years and, sadly, most models don’t measure up — they produce some degree of trigger creep, even the so-called “target-grade trigger models.”
Years ago, Carter unveiled the RX1, RX2 and Like Mike Series of index-finger releases. These came with beefy, polished sear components, producing ultra-crisp triggers. For this reason, they quickly became my favorite index-finger releases. Designing this type of trigger mechanism into an index-finger release is expensive and intricate, but nowadays, more manufacturers are offering similar choices, due to high demand.
The Scott S2, Stanislawski SoleX, TRU Ball Execution, Tru-Fire Exert Flex, and Carter Like Mike II, to name a few, are all great index-finger releases with high-end triggers.

Taking It a Step Further
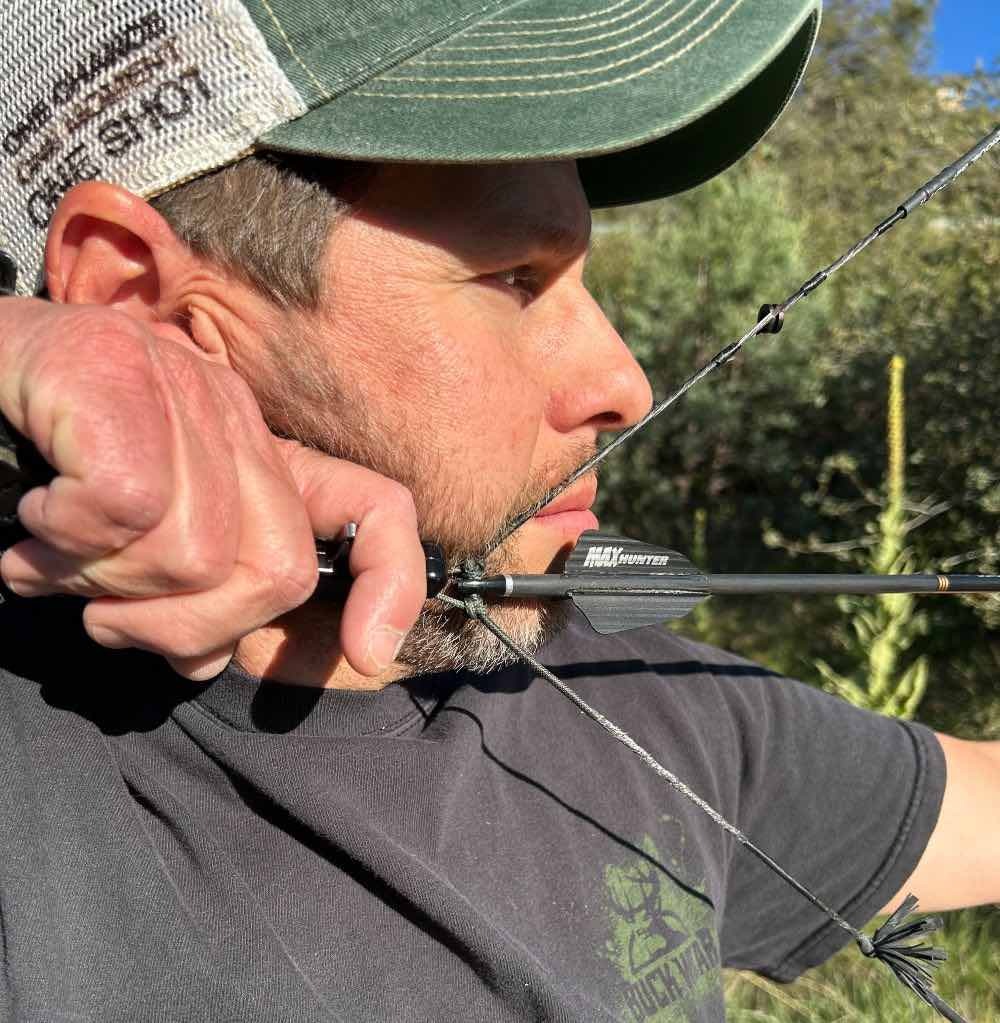
For customers with moderate shooting problems, switching to a thumb-trigger release is often the best medicine. Since the thumb is much less sensitive compared to the index finger, archers immediately feel greater shooting control when using this style of release. But not all thumb-trigger releases are created equal. As with index-finger releases, models with beefy, polished triggers, along with a fully adjustable knurled trigger stem, are best for supporting a solid, comfortable shot execution.
Another reason why the thumb release is so effective is it shifts you into a “new way” of shooting, requiring a completely different shooting motion. Drawing back with a thumb-trigger release does take some getting used to, but in due time, any archer can master proper technique. The key is to keep the thumb away from the trigger and the release’s body during the draw, to prevent premature firing.
Once you hit your anchor point, move the thumb slowly around the knurled trigger or position the pad of the thumb somewhere above the trigger and onto the release’s handle. I prefer to use the latter method and I adjust the trigger so it just touches the meaty part of my thumb. This allows me to pull with my shoulder-blade muscles until the handle rotates and presses the trigger into my knuckle, firing the shot by surprise. This method makes it difficult to press the trigger independently with just the thumb, improving form.
When anchoring with a thumb-trigger release, you rotate the handle somewhat vertically at full draw, with the thumb pointed down and the pinky finger pointed up. The “web” created by the thumb and index-finger knuckles should lock in on the jawbone, creating a solid, consistent engagement. By twisting and anchoring with the hand this way, the shoulder muscles are easier to activate compared to keeping our hand horizontal, such as when using a wrist-strap, index-finger release. When shot correctly, using a thumb-trigger release can help boost an archer’s consistency and accuracy.
Eliminating the Trigger
Despite lots of coaching and shooting, some archers still punch a thumb-trigger release. When this is the case, it’s time to use a release without a trigger.
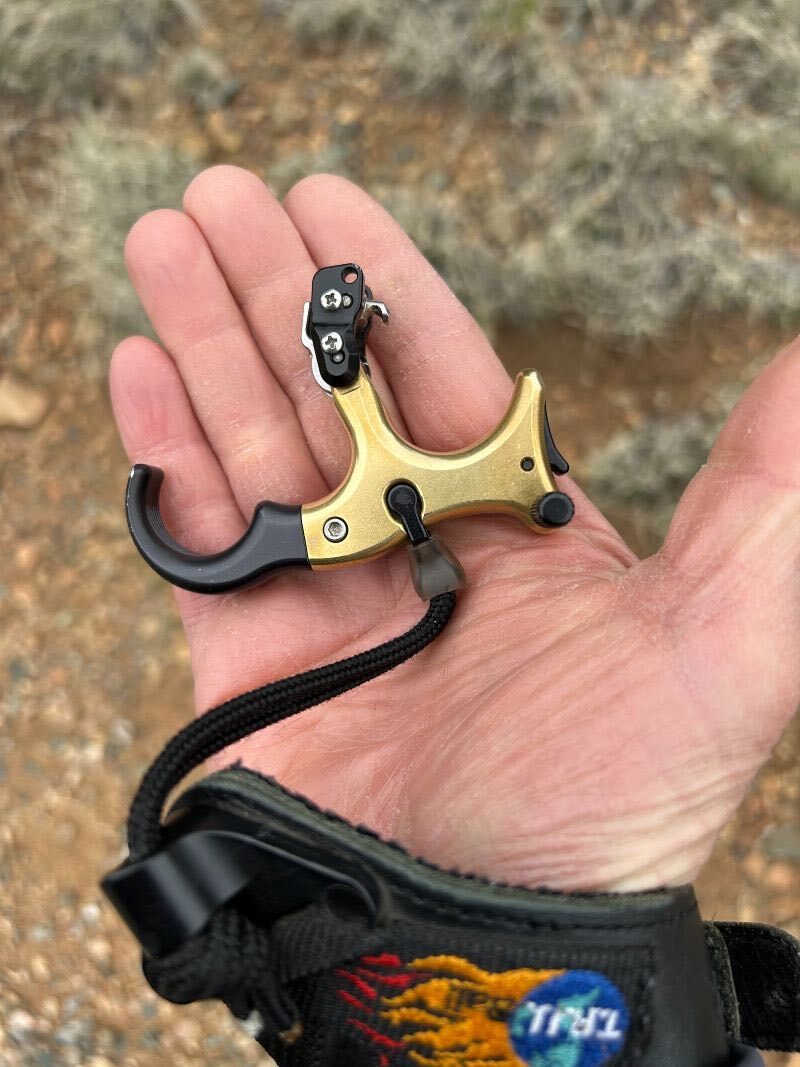
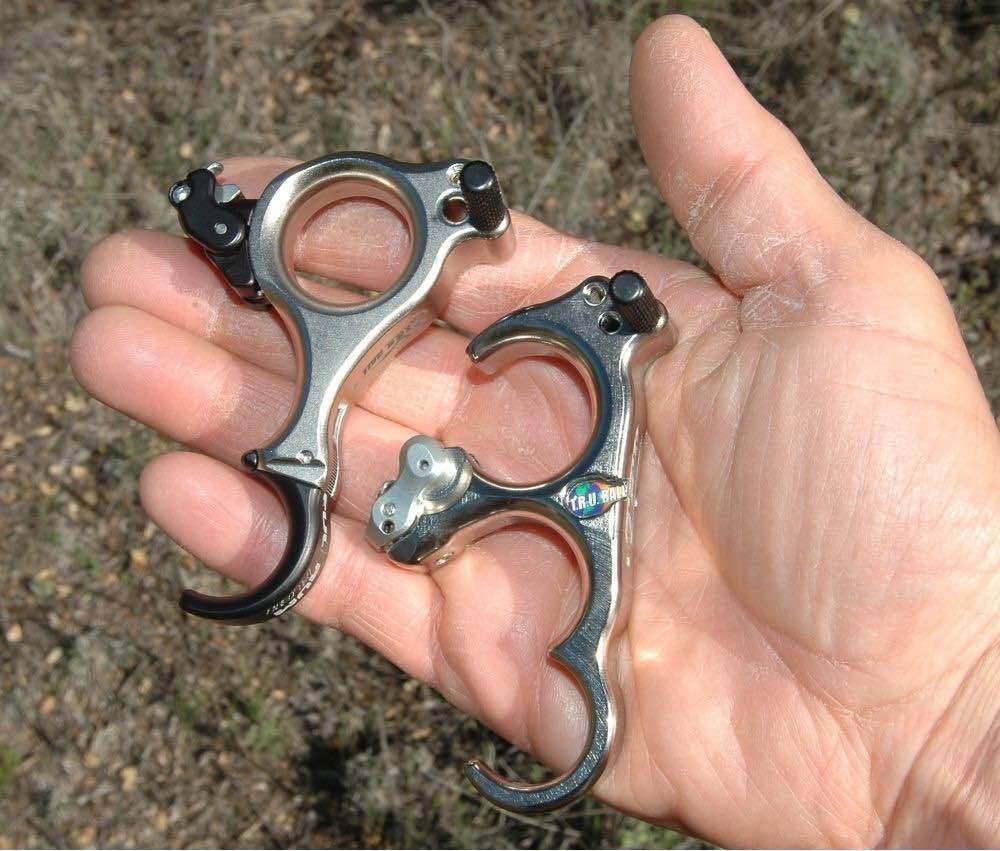
There are two types of triggerless releases: the hinge, otherwise known as a back-tension release, and the resistance-activated release. I’ll quickly describe each model and how they work.
Hinge: A hinge takes a serious commitment to use correctly. For this reason, archers should train with this release only during the off-season. This will give them more time to work out the kinks in shooting technique.
The hinge is unique since it uses a half-moon-and-hook sear mechanism. During the draw, you grip the release’s handle with three or four fingers (depending on the model), but as you pull and apply tension, your thumb and index finger take in all the force. This keeps the handle at a slight angle, so the sear cannot rotate enough to trip the shot. It’s critical to wrap the thumb around the safety peg to prevent the handle from twisting and prematurely firing the arrow.
After dozens of shots, the archer will adjust to the “odd” drawing motion. It’s best to set the half-moon position so it requires a lot of handle movement before the arrow fires. Once the archer feels comfortable with drawing and shooting the release, only then should the half-moon be incrementally adjusted to a faster or “hotter” setting.
The hinge is highly effective because it requires steady back tension (and handle rotation) to get the arrow to fire. This makes it difficult for the archer to anticipate the shot – bolstering control.
There are hinge releases with built-in safety buttons, too, which allow the archer to draw with the handle in any position. Once at full draw, the archer releases the button and pulls with back tension until the shot breaks. Carter’s Honey and TRU Ball’s Sweet Spot Pro Flex are models with a built-in safety. These releases are ideal for any type of archer, but especially those who can’t get comfortable with a standard hinge-style release.
Resistance-Activated: This release can be activated only with increased pulling pressure. Once the archer anchors, they keep pulling until the force is strong enough to release the arrow.
This release is one of the best tools for curing shot anticipation or target panic, since you can’t cheat by twisting the handle to fire the shot — like you can on a hinge. Keep in mind, the resistance-activated release must be adjusted to a particular bow’s let-off weight. So, once set, it should not be used with any other bow setup. Otherwise, premature firing will occur, creating a shooting hazard.
Learning Good Technique
Selecting the right release aid is important, but so is learning how to shoot it correctly. Here are some tips and suggestions that have proven to be effective.
Index-Finger: Adjust the release’s stem length so the index finger gets a good bite on the trigger — ideally, somewhere between the first and second knuckle. This will help the finger act as a “dead hook” around the trigger peg as the archer applies solid back tension. As back tension is applied, the hand/arm unit will move ever so slightly rearward, eventually causing the trigger to fold and the arrow to fire. The deeper the finger grasps the trigger the better, since the tip of the index finger is ultra-sensitive and prone to smashing/punching the trigger.
You can even go as far as using the middle finger to activate the release because it’s not as sensitive as the index finger. To do this, place the hand over the release’s body, straddling it with the index finger on one side and the middle finger on the other. Be sure to keep the middle finger behind the trigger, then draw the bow back. After weeks of drawing and shooting this way, the archer will find the new method simple and effective. Some of the best archers I know shoot an index-finger release with their middle finger, and each one raves about how it transformed their shooting ability.
Thumb-Trigger: There are two ways to fire a thumb-trigger release. As I mentioned earlier, you can draw, anchor, and gently move the thumb on the trigger peg while applying a small amount of pressure. Then, you begin the aiming process while pulling through with steady back tension. The release’s handle will eventually rotate, causing the shot to fire. The second method is performed the same way, except the tip of the thumb rests on the release’s handle, while the center of the thumb (knuckle portion) hugs the trigger peg. This makes the thumb less prone to punching and commanding the shot. Once back tension is applied, the handle will naturally rotate, forcing the trigger into the thumb. This generates a surprise-like release.
Hinge/Back-Tension: Shot activation with a hinge is the same as with a thumb release, only there’s no trigger to grasp or worry about. The main difference with the hinge is getting the half-moon set just right so the shot doesn’t break too fast or slow. You’ll have to experiment with this until you find the sweet spot.
Once the release is set right, draw to anchor, apply back tension until the handle turns and the clicker sounds, then begin settling in and aiming until the shot just happens. The key to shooting a hinge well is to squeeze the shoulder blades together, while allowing the release’s hand and fingers to relax, particularly the index finger. By doing this, the handle will rotate smoothly, causing the shot to occur by surprise.
Resistance-Activated: This type of release comes with a safety that you engage while drawing the bow, then once you come to full draw, you release it. Other models have a safety that works in the opposite way. You draw the bow back, but once you anchor and begin aiming, you squeeze a trigger to release the safety. You continue to squeeze and pull with back tension until the arrow is off.
Resistance-activated releases are available in two configurations. One looks just like a standard wrist-strap index-finger release, whereas the other looks like a thumb or hinge release. Regardless of the style, this release is shot no different than a standard index, thumb, or hinge release, only you must “pull” with steady back tension until the shot fires. Since there is no trigger to squeeze nor any handle to twist, the archer must use true back tension to execute the release. For this reason, it’s highly effective for retraining an archer’s shooting form, so they aim and shoot better.
Final Thoughts
Keep in mind, when an archer is learning a new release method, it’s important to go slow and to let the subconscious mind absorb the new way of shooting. For this reason, your customers must begin by shooting up close, at a chest-high target. This way, they can draw, anchor and even close their eyes when shooting. This will eliminate the distraction of aiming and help them use proper shooting form. As they shoot over the course of several weeks (roughly 30 days of shooting), their body will develop the right type of muscle memory to transform their shooting.
With the right release in hand, an archer can dramatically boost their shooting skill – improving both their target scores and hunting success. For this reason, a customer shouldn’t stop searching — with your help — until they find the right one.
Sidebar: Hinge Releases and Clickers
Nearly all hinges, except those with safety buttons or levers, come with a clicker built into the half-moon mechanism. The clicker serves as a signal that the shot is about to happen, helping the archer settle in more and pull through until the shot breaks. You can also remove the clicker sound by flipping the half-moon, which allows the release to function silently.
When shooting a hinge for the first time, I recommend adjusting it so the handle must be turned quite a bit before the clicker sound is activated. This will make it safer to shoot. Once the archer is comfortable with the release, they can adjust the half-moon to a faster or hotter setting.
Many pro target shooters believe using the hinge’s clicker improves shooting consistency, since you don’t have to wonder where you are in the handle’s rotation. Others disagree and believe a clicker’s sound can induce shot anticipation, since it’s telling the archer the shot is now eminent. There is truth in these sentiments, but what’s best depends on the shooter and the release’s clicker design. Some releases come with clickers that use a long delay prior to shooting, reducing any chance of anticipating the shot.
The only way to know what’s right for one of your customers is to have them sample different models and determine what feels most consistent. Some release manufacturers are now making hinges with adjustable clicker lengths or delays. Be sure to take a look at Carter’s Two Moons, Scott’s Ascent and TRU Ball’s Aileron HBC Flex or Fulkrum Flex AC releases. They all come with adjustable clicker lengths, which is a pretty cool feature.
Sidebar: Setting Up a Hinge for Hunting
A hinge release can be used effectively for bowhunting, given it is set up correctly. The big question is, will the clicker’s sound scare game or will it somehow become a problem in the hunting woods? Of course, this is complicated, as every clicker sound is different. But most bowhunters I know who hunt with a hinge with a clicker say the sound has never been a problem when shooting at game. Overall, they prefer this style of release because it makes them more effective and accurate, particularly when they feel buck fever coming on.
One thing to keep in mind is that once the click does sound, it cannot be re-activated at full draw. For example, let’s say a buck steps into view, you draw and settle in, then hear the clicker go off, but then the buck suddenly prevents a good shot, causing you to ease up on the draw and release. At this point, you cannot re-set the clicker and start the shot process all over again while you remain at full draw. Once the click progresses across the half-moon, it stays in this position until the shot is activated silently or the archer lets down and re-sets the half-moon and hook completely.