After you insert the new buffer in the spring, carefully guide the assembled pieces into the buffer tube. (Photo: Guy Sagi)
There are a variety of reasons to gain access to an AR’s buffer and buffer spring ranging all the way from routine maintenance to installing a high-tech version that silences the metallic “sproing” every time the gun is charged. Some claim changing to an H- or H2-weight buffer even reduces perceived recoil.
Getting to the assembly isn’t difficult, but it’s a dirty and oily mess regardless of the firearm’s age or relative abuse. That makes eye protection as mandatory as clearing and rendering the gun safe.

Push the rearward-most takedown pin out of the upper receiver. Use something that won’t scar the metal, preferably with a polymer-coated finish. (Photo: Guy Sagi)
Before starting, ensure you have the proper buffer and spring. Those designed for carbines are shorter and won’t work in a rifle, so check the package and recheck manufacturer recommendations.
Remove the sling at the rear of the gun — if one is attached — and adjustable-length stock, if the AR is wearing one. This step isn’t mandatory, but reducing the clutter beforehand minimizes headaches and streamlines the process.
Locate the receiver’s takedown pin at the back of the firearm and push it out using a non-marring tool. It’s altogether too easy to scuff the finish with a screwdriver or other metal object.
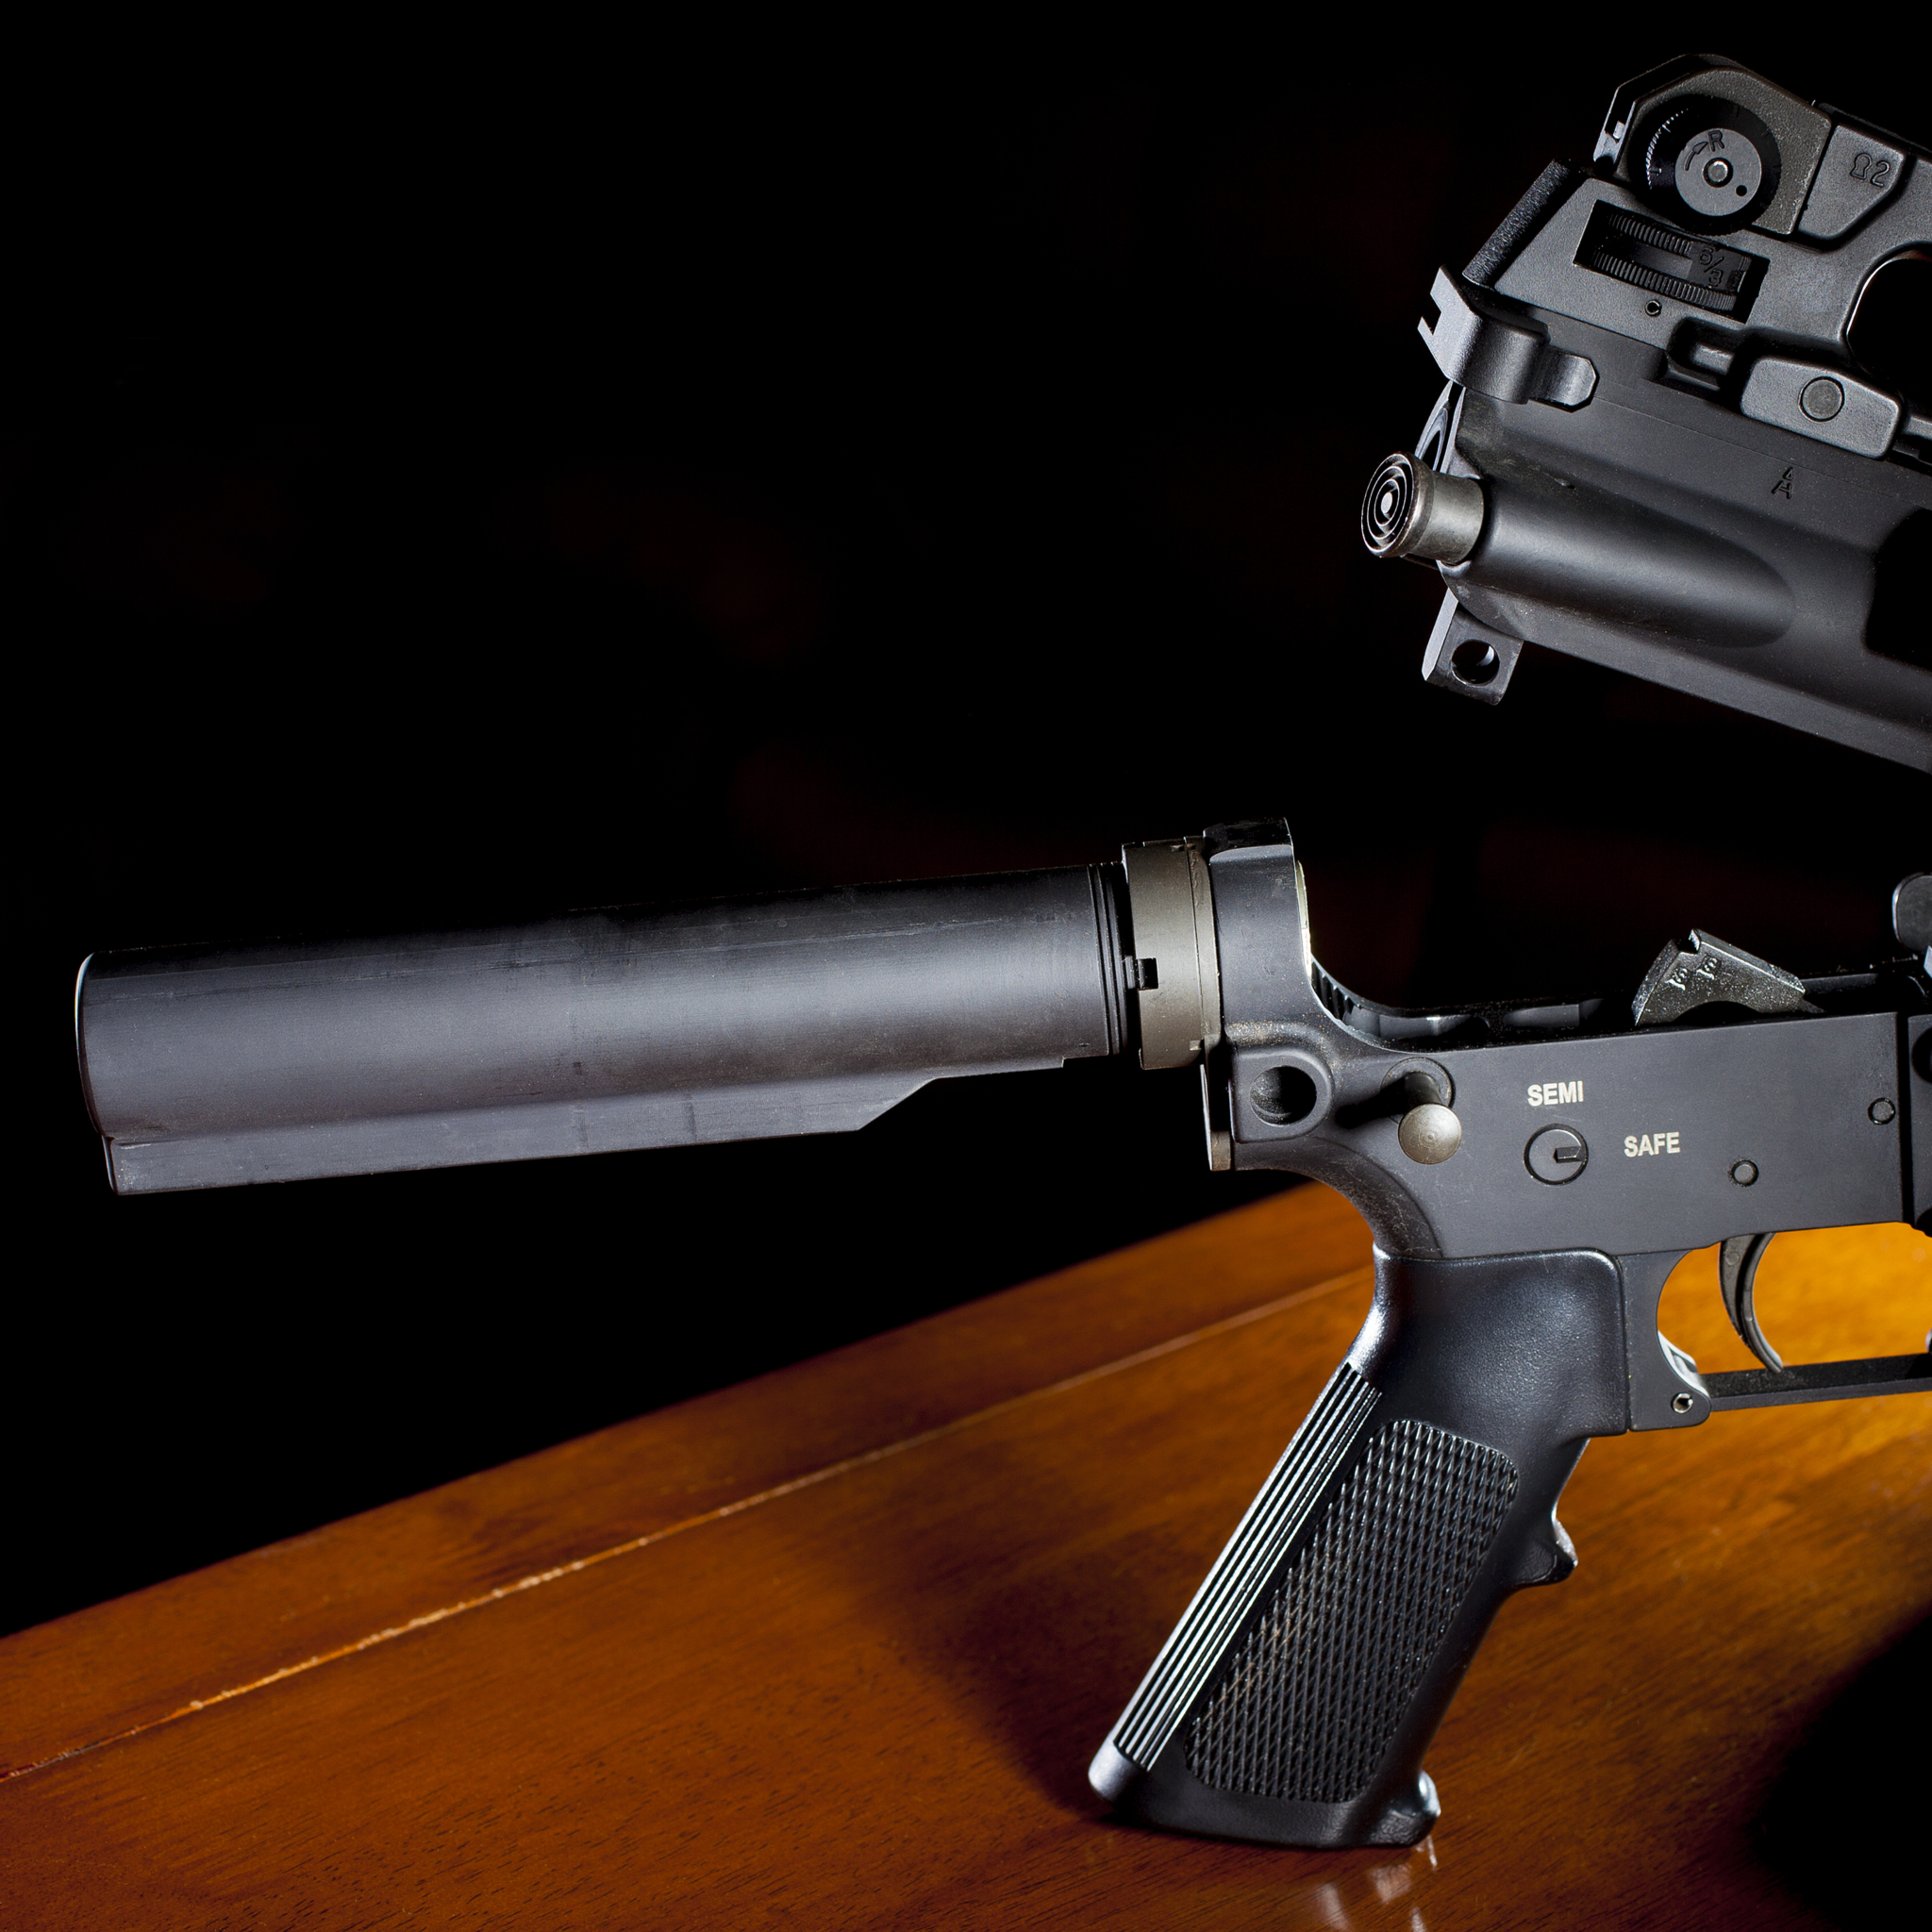
Pivot the receivers apart, and you should be able to see the front of the buffer tube. It’s just rearward of the trigger assembly, at the bottom front of where the stock attaches.
Anchor the barrel and/or upper receiver in a vise or by another device, leaving the lower’s interior exposed. This, again, isn’t absolutely necessary, but prevents your knuckles from taking an MMA-style whuppin’ should it decide to slam shut unexpectedly.
At the bottom of the buffer — housed in the lower receiver — is a small spring-loaded plunger. It prevents everything from coming loose. Use your thumb to apply and hold slight pressure on the buffer face, then depress the plunger with a non-marring tool or your finger.
Pivot the receivers apart to expose the interior for access during this procedure. If possible, anchor the upper receiver in some manner so it doesn’t unexpectedly come down on your knuckles. (Photo: Guy Sagi)
Once fully down, release pressure slowly on the buffer and it will slide forward with the spring behind. At this point, the plunger doesn’t need to be depressed any longer, although the odds are good that a coil or two on the spring will hang up during removal. Go slow and rotate if necessary, but the entire unit can be worked free without scarring or scratches by exercising some patience.
Now is a good time to clean the buffer tube’s interior. Then, begin reassembly by pushing the replacement buffer into the fresh spring. It’s a hand tight fit and should snap in with authority.
Then, snake the assembled unit into the buffer tube the way it came out—buffer to the front, naked spring to the back. Apply increasing pressure with your thumb on the buffer face to compress the spring and once you’ve traveled past the plunger, it’ll release, rise and lock everything in proper position.
Reassemble the upper and lower receivers and push the takedown pin back in. Work the charging handle to ensure proper operation and function test if buffer weight has been altered in any way.
The last step is re-attachment of the stock and sling, although now’s also a great time to inquire if the customer is ready to upgrade either version.