It doesn’t take a professional to gauge the difference between good and bad imagery. Anyone who has paid much attention knows high-quality photography when they see it. That’s understandable, especially given that approximately 90% of information that reaches our brain is transmitted visually. Furthermore, more than 90% of consumers say that images greatly influence purchasing decisions.
Businesses should take note of that. Taking top-notch photos of the products they manufacture and/or sell is of utmost importance. Doing so can mean the difference in not selling a product or selling out of it. For those looking to up their product photography game, use these 20 tips for taking better product images.
1. Buy Based on a Budget
One of the most important things is to buy the best camera equipment you can afford. Analyze the budget, settle on a sum you can stomach, then find the best camera at that price point. Remember, just because two cameras have the same price tag doesn’t mean they’re equal. Drill down on their capabilities, specs, warranties and more.
Bill Konway, a professional photographer who works with many brands in the hunting and fishing industries, encourages those who already have one to try their iPhone camera.
“The cameras in iPhone 10, 11 and 12 are fantastic,” he said. “These are way more advanced than you might think. You still follow the same photography rules — frame the subject, hold steady, get a sharp picture, make sure it’s in focus, try not to get any weird distortions by tipping the camera one way or another, etc. Plus, they have 20-megapixel cameras, but not all megapixels are created equally. A Nikon or Canon at 20 megapixels is going to be a better picture because of the optics.”
Still, don’t spend all of your budget on a camera. Keep some of that money for additional items to purchase. There are other things necessary for jumpstarting your in-house photography program. (More on that later.)
2. Know Your Camera
Whatever camera you select, it’s important to learn it well. Each camera functions differently. Block out a day or two to do nothing but play with the controls and settings. Figure it out before you begin shooting images for your business. This is important, especially if you want to produce high-quality photos.
3. Use Sound Principles
Those with a formal or self-provided education in photography already know the basic principles of photography. They incorporate these things into their work and therefore produce a better end product. It’s important to understand these principles.
While I don’t have space in this article to cover everything, there are certain attributes to definitely know, including balance, color, contrast, dominance, emphasis, form, harmony, lines, movement, pattern, repetition, shape, texture and more. There are certain rules to follow, too, such as the Rule of Thirds, which suggests photographers should place subjects on one of three axis — the left, center or right third of the photo.
4. Clean That Lens
One of the easiest ways to ruin a good photo is using a dirty lens. You can edit out a speck here and there, of course. But who wants to do that? It’s much easier to use a proper cleaning cloth before snapping the photo. Get in a habit of cleaning the lens before and throughout photo shoots, and this will be less of an issue.
5. Use a Tripod
Blurry photos are generally due to one of two things, either the camera or the subject is in motion. (Digital zooms cause this, too, but more on that later.) Given that most product shots are stagnant, blurriness is usually a product of camera shake. To reduce or completely cut out this issue, use a tripod, gimbal or harness system to stabilize the camera. This helps produce clean, crisp images.
6. Learn Proper Lighting Techniques
Good product photos are dependent on good lighting. To capture that, it’s important to learn proper lighting techniques. When using artificial lighting, it’s best to set up lighting kits angled 45 degrees off the front-right and front-left sides of the product. You can backlight it at 45 degrees on the back-left or back-right sides, too. Also, make sure to understand different lighting colors, and when to use each one. Different situations call for different light color variations.
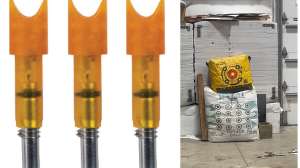
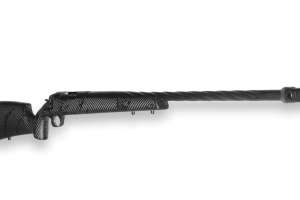
7. Buy a Light Box
Those who are photographing small- to medium-sized items on neutral backgrounds might consider purchasing a light box. These are perfect for setting up product shots with a white or other color background. That said, white is the most common and works best for most items.
8. Operate Under Open Shade
Those who don’t purchase lighting equipment must rely on natural lighting. That’s fine, but it’s harder to control. “Look for open shade, or a little bit of an overcast,” Konway said. “Shoot early or shoot late. You can use all sorts of light control to negate bad light, or enhance good light. Adapt what light you have available to the subject. Sometimes, it’s just as simple as bouncing some light into it, or using the light that is coming in. Either of these things, or both of them combined, can really improve the image.”
Because of this, when outdoors, he prefers cloudy days for most product photography. And if it isn’t completely overcast, you want at least some clouds to filter harsh light. For example, let’s say it’s overcast, but every tree has a small shadow beneath it. This would be a good light because there is a little bit of contrast, lightness and darkness to it. So, a medium overcast day is great.
That said, for those who go all natural, they will still need certain items such as reflectors and other similar tools. “In terms of stuff to adjust light, I went to the store and bought silver and white boards for reflecting,” Konway said. “I just bought a piece of silk fabric to stretch across a PVC frame to soften direct sunlight. You don’t necessarily need high-end stuff. Have a white pickup truck? Pull it over there and bounce some light. Use whatever is handy.
“If you want to buy something, try one of those round collapsible reflectors that come in different diameters. You can have a translucent one that softens light, or a two-sided one with options of white, gold or silver to bounce light. These are really handy.”
9. Understand Depth
While too little light and too many shadows are bad things, you actually want a little shadowing in your photos. This helps provide depth, and really adds another element to the photo. It makes a two-dimensional image look more three-dimensional.
“You don’t want something shot with deep shadows, but you don’t want it completely flat, either, because it’ll be lifeless,” Konway said. “You need a little bit of depth to it. The shadows and light enhance it, so you need some, but you need to be able to manage how much.”
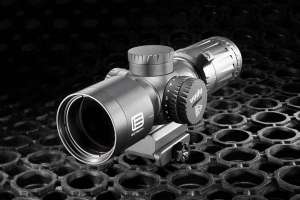
10. Consider Different Shot Types
Once the setting is selected, understand the different shot types, including individual product shots, product in packaging, scaled out (to show the entire item), zoomed in (to show specific features), and lifestyle images, which show the product in action. Just remember: When zooming in, never use a digital zoom because it produces a pixelated image. It’s always better to use an optical zoom, or simply move closer to the subject.

11. Choose the Right Setting
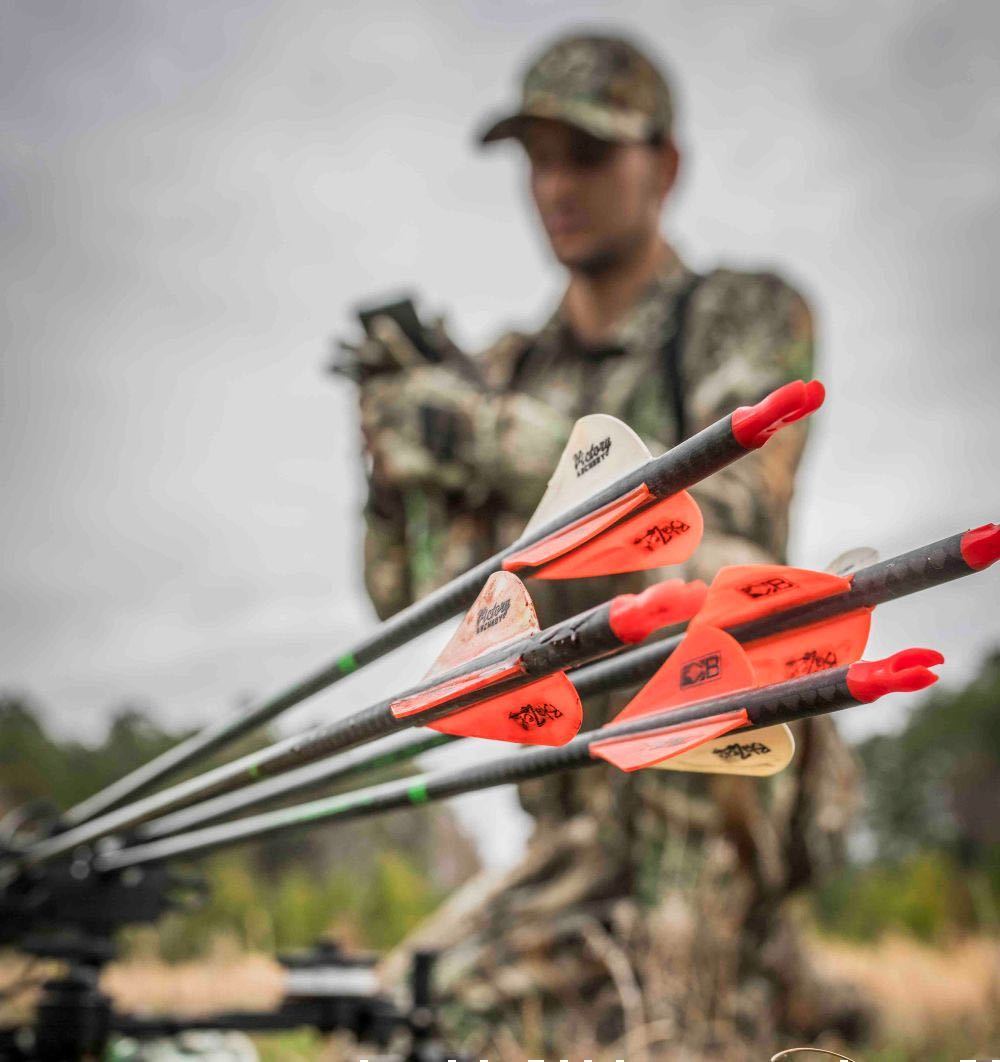
Many products are photographed in studio settings, but some are shot in the field. Determining which is best is a matter of use. Some situations demand the product-on-white-background treatment. Others are much better suited with it in its packaging. Still others require the item being used in the field. Choose which is right for you, and plan accordingly.
“Try to photograph a product in the environment it’s intended to be used,” Konway said. “If they’re knee-high boots, you’d want them in a creek or stepping through some mud puddle or something. A treestand would be better photographed in a tree than on the tailgate of a truck.”
12. Kill the Flash
A camera flash is meant to stay closed. That’s especially true for product shots. Instead, use either artificial or natural lighting. This will produce better results. That said, if you have no other option, and you absolutely need the flash, use it sparingly at your own discretion.
13. Know Your Subject
As photographers, it’s important to understand the product being captured. This is especially true when photographing in the field. Consumers will pick up on it right away if a piece of gear is being used or displayed improperly. Avoid that problem at all costs.
Konway says to always make the product you’re photographing the main subject. Don’t let other things in the image distract from the primary object. You don’t want someone to look at the photo and wonder which item is the main subject.


14. Get Angled
While some situations require straight-on pictures, it’s better to get creative. Take photos at different angles to capture photos with greater appeal. Shoot from high, low and sideways perspectives. Find that perfect angle, and rest assured, it varies depending on the product.
“If you have a boot, you wouldn’t want to take the picture from 6 feet off the ground,” Konway said. “You’d want to get down on the ground, eye level to it. I can see shooting a treestand from down low, but I also think it’d work really well from above. Different products require different angles and environments.
“Considering a bow, maybe have someone hold the bow over their head horizontally. Maybe it’s set up against an interesting sky with some good clouds or character in it. There are so many angles with the strings, cams, risers and limbs, so you probably don’t want to take it into the woods — it’ll get lost. Maybe shoot it at waist level or 2 feet off the ground. Have someone drawing and shooting it. Maybe get a shot straight down from above. But don’t do anything from directly in front of it.”
15. Engage the Viewer
Finding ways to engage viewers is an important aspect of boosting appeal. And one of the best ways to accomplish that is by engaging the viewer via case-use and lifestyle-based shots. Get creative and pique their interest.

16. Keep Snappin’
One of the best aspects of modern photography is the great reduction in cost. While film used to be very expensive, digital photos are free to take after you have a camera or smartphone. There’s no longer a need to stress over setting up the perfect shot. While you still use good practices and do everything the right way, you’re not constrained by budget to a certain number of images.
“It doesn’t cost anything to take pictures with digital cameras,” Konway said. “Take a bunch of them — way more than you might think. Make each one a little bit different. You’ll like one more than another. When you find something you like, the next time you photograph a product, start with the angle you liked.”
17. Edit Like a Pro
While certain editing software requires in-depth knowledge, there are apps that almost anyone can use. Learn these quickly and easily. Your photos will look better because of it.
“The software that comes with your phone is pretty good stuff,” Konway said. “Typically, I use a free app called Snapseed. You can do some pretty cool stuff with that. I have another app called Slow Shutter, which allows me to do some long-shutter exposures. That comes in handy.”
18. Draft a Game Plan
Once ready to start photographing, put a plan down in writing before starting the project. This will keep you on track, make sure everything that’s needed is captured, and just helps retain some sort of organization. Because as every photographer knows, during most shoots, that’s the first thing to go out the window.
“Think about things before you run out and go do it,” Konway said. “Put a little thought into it ahead of time and things will go a lot smoother. Have a plan and direction.”
19. Develop a Style
Over time, you’ll notice how similar and different you are from other photographers. You’ll adopt things you like, omit things you don’t, and it’ll eventually lead to your own personal brand of photography.
“Different photographers have different styles,” Konway said. “Some are super-narrow depth of field. Some shoot with everything in focus. Others use wide angle. I think the photographer uses their own style, and it’ll look different than anyone else’s.”
20. Find a Mentor
Those who still want to learn more should consider finding a mentor. Most people are visual learners, and having someone who can show you rather than tell you is a very powerful thing. And with resources such as YouTube and Zoom, it’s never been easier to accomplish this.
All things considered, those who are willing to elevate their product photography game will produce better photos, have better digital sites, and could even convert more sales because of it. Give it a try and see if it makes a difference for your business.